New Code Sent!

Guide to searing and cooking steak on a stovetop
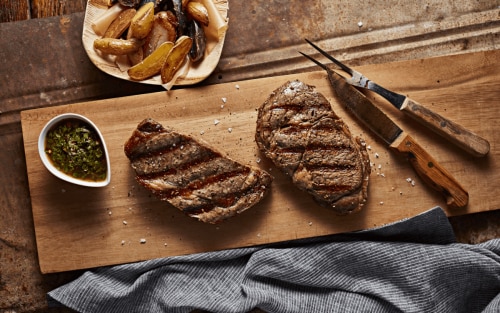
What’s better than a steak with a perfectly darkened, crispy and seared exterior that, when cut, gives way to a tender, juicy interior? A perfectly cooked steak is one of the world’s most beloved entrées and pairs well with baked, mashed or roasted potatoes, a refreshing salad or a host of other sides.
When it comes to searing a steak on a stovetop, even simple techniques can produce a hearty, satisfying meal. The benefit of this cooking technique is that it offers the high heat you need for a flavourful sear and the ability to control the burner to cook your steak to your preferred doneness.
Whether you are cooking a juicy flank steak, a nicely marbled New York Strip or a succulent ribeye, and no matter the level of doneness you want to achieve, searing and cooking a steak on the stovetop lets you enjoy a noteworthy and memorable dinner with your family at home. Follow the steps and instructions in this guide to sear and cook a steak on your stovetop.


What is searing?
To sear meat simply means to cook the surface of it quickly using high heat. Pan-searing a steak on a stovetop uses intense heat to seal in juices by developing a crispy exterior. Many don’t realize that searing is also an important step in sous vide cooking.
What is reverse searing?
Reverse searing has grown in popularity over the years. It involves first cooking the steak low and slow, often in an oven, and then in a hot pan or cast-iron skillet to quickly sear both sides. This technique locks in the flavour and juices. You can even use this method when reheating steak to preserve as much of its juices and tenderness as possible.


Steps to pan-sear steak
Pan-searing steak on the stovetop is relatively easy and can produce a flavourful and tender result. Use these steps to create a delicious steak dinner right in the comfort of your home.
Yields
1 steak
Ingredients
A cut of steak
Butter
Olive oil
Salt
Pepper
Freshly ground spices of your choice (optional)
Tools
Tongs
Cutting board
Cast-iron skillet
Instant-read meat thermometer
Aluminum foil
Prep time
- 40 minutes
Cook time
- 10 minutes
Total time
- 50 minutes
Step 1: Choose a steak
Choosing the right cut is the first step to pan-searing a steak. Consider going with a high-quality cut that is roughly 3.8 cm (1 ½ inches) thick to give you the best chance of developing a deep crust without overcooking the centre. You can also opt for a boneless steak, as they take less time to cook than bone-in varieties.
Marbling is key, as steaks with impressive marbling are often the tastiest when cooked on a stovetop. These cuts can include ribeye, New York Strip and filet mignon.
Tip:
If you want to marinate your steak, make sure it’s dry, and then salt it before refrigerating it overnight. The longer you marinate the steak, the better, up to 24 hours. Coarse cuts of meat pair well with acidic marinades, whereas more tender cuts work nicely with dry rubs. Select KitchenAid® refrigerators offer an Under-Shelf Prep Zone that turns space beneath the shelf into a prep zone perfect for marinating meats.

Step 2: Choose your cookware
A skillet with a heavy bottom, made from cast iron and stainless steel, is ideal for searing steak on the stovetop. Cast-iron is often the best option as it can retain a set temperature for a long period. However, stainless steel is a strong choice if you intend to scrape fond to create a rich and delectable pan sauce to pour over your steak.

Step 3: Take the steak out of the refrigerator
Now, remove the steak from the refrigerator roughly 30 minutes before you intend to cook it. A steak that is too cold can have its outside overcooked while the inside remains undercooked. Letting the steak rest at room temperature for 30 minutes can help ensure a more even cook.
Step 4: Dry, oil and season the steak
Patting the steak dry before seasoning and cooking it can help prevent the salt from melting while keeping the steak from creating steam in the pan, which can interfere with it achieving a crispy exterior. Next, brush the steak with olive oil and then season each side with salt, pepper and any freshly ground spices you want.

Step 5: Heat your cookware
Heat the cookware over high heat.
Step 6: Sear one side of the steak
Now that you’ve arrived at the searing part of the process, start by searing the side of the steak with the fat cap, if one is present. Place your steak flat in the skillet and let it sear until it achieves a deep brown colour, which typically takes about four to five minutes. Keep in mind that the length of cook time depends on your desired doneness. If the steak sticks to the bottom of the pan, rather than moving freely, then it is not quite done on that side.
Step 7: Sear the other side of the steak
Use tongs to turn your steak and then continue cooking for roughly two to three more minutes or until it is lightly browned.

Step 8: Add herbs and butter
While the steak continues to cook, add a small knob of butter and any herbs or spices you wish. Common choices include fresh rosemary, sprigs of thyme, freshly minced garlic or fresh chili pepper, if you crave a bit of spice. If you’re feeling adventurous, you can even make your own homemade butter for a fresh, rich and delicious addition.
Step 9: Continue cooking
Let the steak cook while spooning butter on top of it. Stop once the internal temperature of the steak’s thickest part reaches about five to ten degrees shy of your desired temperature. The reason for this is that the steak’s temperature will increase about five to ten degrees while it rests. The safe internal temperature according to Health Canada is 63°C (145°F) for medium doneness in whole cuts of beef. Use an instant-read meat thermometer to ensure temperature accuracy.

Step 10: Let the steak rest
Move the cooked steak from the pan to a cutting board and loosely tent aluminum foil over it. Let it rest for roughly ten minutes. This resting period will allow the steak’s juices to redistribute evenly and reduce the amount of juice that is released when you cut into it.

Step 11: Slice and serve
Once your steak has rested sufficiently, slice it against the grain. You can serve it with the excess melted butter or pan drippings and accompanied by your favourite side dish.
Shop KitchenAid® ranges
This range can help you do it all - baking, broiling, sautéing and searing. If you're exploring an upgrade, shop KitchenAid® brand range of electric, gas and dual fuel options, equipped with features like Even-Heat™ Technology that deliver the consistency and precision to help you tackle most recipes and expand your culinary ambitions.


How long should a steak cook on a stove?
The amount of time you cook a steak on the stovetop depends on your preferred doneness, the cut and the thickness. You can cook a steak anywhere from rare to well-done. A 2.5 cm (1-inch) rare steak takes roughly six minutes to cook on the stove, whereas a well-done steak typically takes twelve minutes.
Should you flip a steak when cooking it on the stove?
Sear the steak undisturbed on one side to build a deep, flavourful crust. Once it releases naturally from the pan without sticking, flip it to sear the other side.


What pairs well with a pan-seared steak?
A pan-seared steak is a dream pairing for many sides. Choose your side based on the theme of your meal or the flavours seasoning your steak. Popular options include baked potatoes, homemade French fries and crispy air fryer vegetables.
Explore KitchenAid® cooktops
A conduit to spark creativity in your kitchen, KitchenAid® cooktops are available in a range of sizes and styles to meet your specific needs. KitchenAid® cooktops are a marriage of versatility, craftsmanship and performance designed to elevate your cooking experience and expand culinary possibilities.
Was this article helpful? Pass it on
EXPLORE MORE WITH KITCHENAID BRAND
-
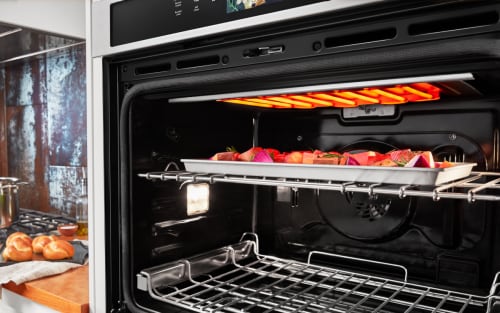 Guide to Air Frying in a Convection Oven Discover the benefits of air frying in a convection oven and how to get the most out of this method. Plus, learn convection oven air fryer recipes.
 -
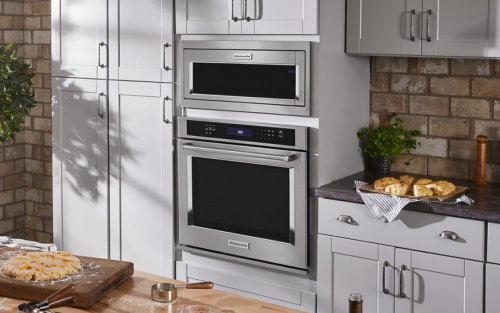 Understanding Ovens: How Different Types Cook Your Food Explore oven types, their cooking mechanisms, and settings to enhance your culinary skills and achieve delicious results in the kitchen.
 -
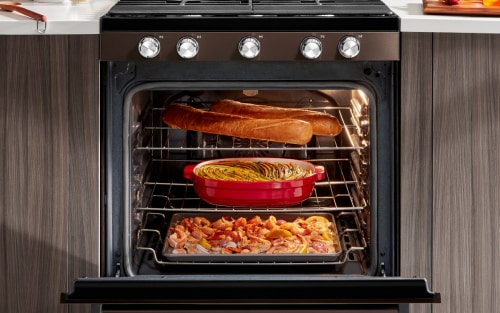 Tips to Maximize Oven Space and Cook Multiple Dishes Use this guide to maximize your oven space to cook multiple dishes at once. Make big family dinners and holiday cooking easier with these tips.
 -
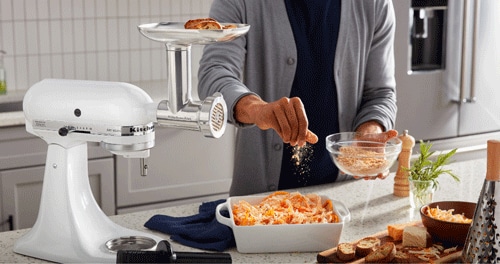 What is a Meat Grinder and How Does It Work? You can grind your own meat with ease right at home! This guide will walk you through what a meat grinder is and how it works along with how to get your very own.
 -
 How to Grill in Your Oven Discover the tricks to grilling in the oven, including how to grill meat and vegetables. Explore tips for using an oven as a grill and try these oven grill recipes.
 -
 Ultimate Guide to Grinding Spices at Home for Peak Flavour Unlock fresh flavours with KitchenAid's guide on home grinding and toasting spices.